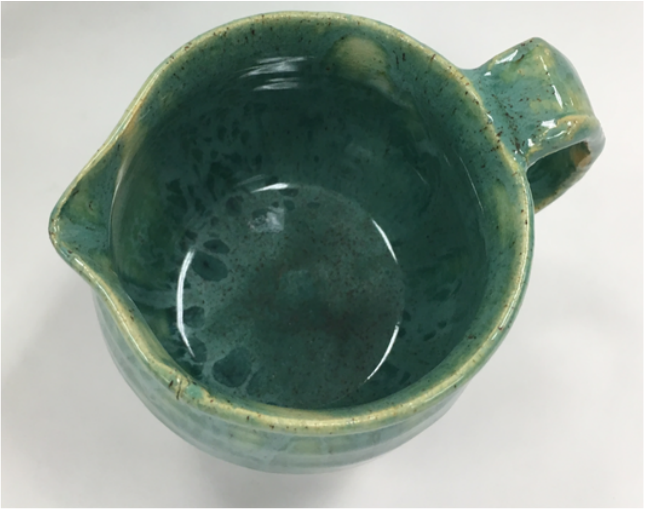
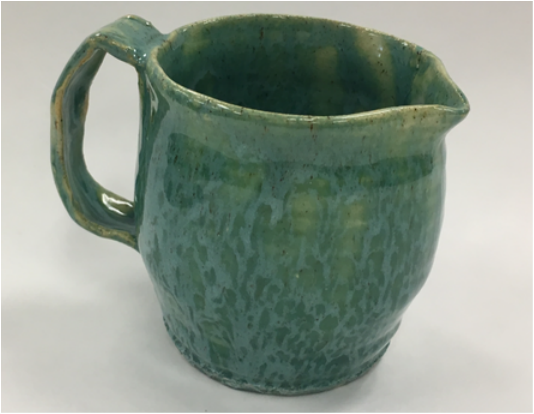
  This is my hand and wheel project. This was my first time this year making a hand and wheel, so I just went for making a small, mugged size pitcher. I put the handle on at an angle, so it is towards the side of the project. Although, the handle is not as good as I wanted it to be, I really like the glaze on the project. I put white glaze on my project first and then put shadow green over it. When the project was over, I learned how well those two glazes work together to make a really pretty color. Also, the importance of knowing how those glazes run a lot in the kiln is something I forgot. Getting the glaze off of the bottom of the project and the sides was really difficult.
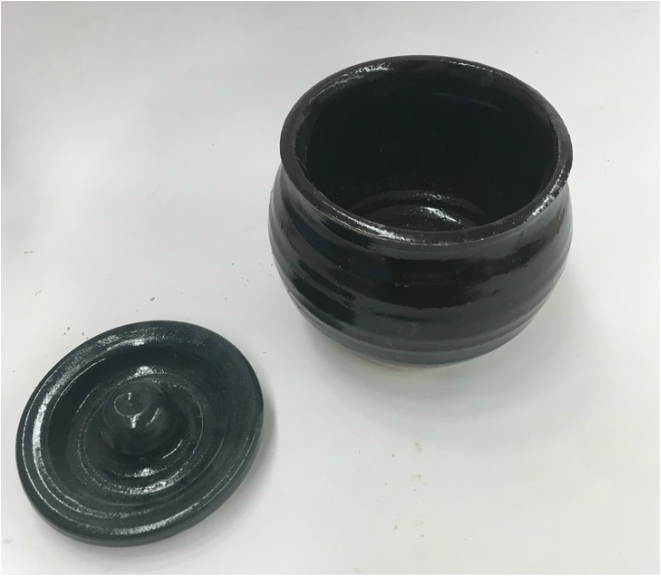 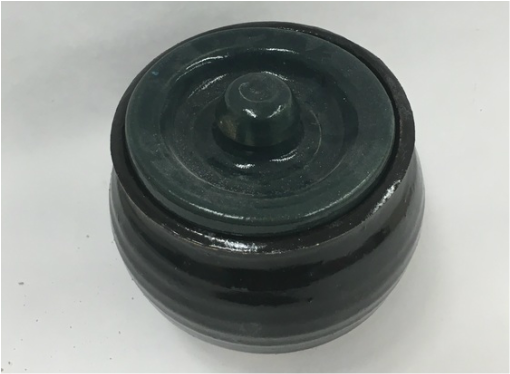 Creating my lidded project was a crucial experience in order for my future projects. My lidded project is about 6 inches wide and tall. While making the project, I reinforced the skills it takes to throw a vase on the wheel, as well as a lid. When you create a lid, you start it in the same way you would a planter. I learned that making several different lids in one sitting is really helpful when you are trying to create the perfect shape to fit your vase/lidded project. After receiving it from the bisque kiln, glazing it was another step. I hoped that the lid would pop out more, as it is a different color than the black. However, it does emphasis the lid more than creating it black would. Im proud of my lidded project.
 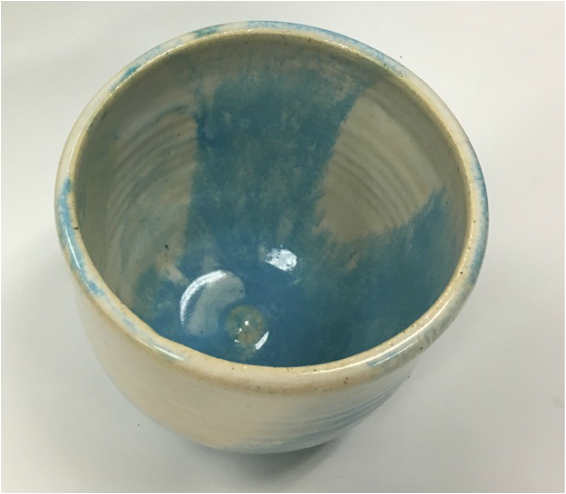 This is my tall project, about seven inches tall and five inches wide. While creating this project, my pulling up skills in order to make the project taller than it is wide. When doing this, I came across the issue with holes in my project, due to pulling up unevenly. My project was thicker on the bottom than on the top, or the other way around. However, I ended up with a project that was the same thickness all around. When I was glazing, I wanted to incorporate the elements of color. I used turquoise glaze with white glaze, essentially staining the project (using light colors). This gave my project a sky/cloud picture. I will continue to make tall projects until I master the task.
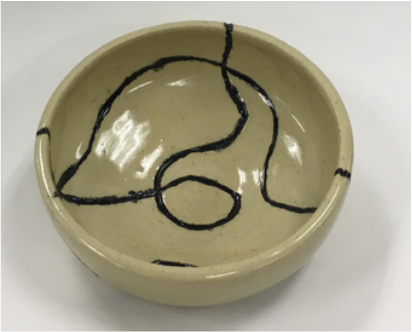
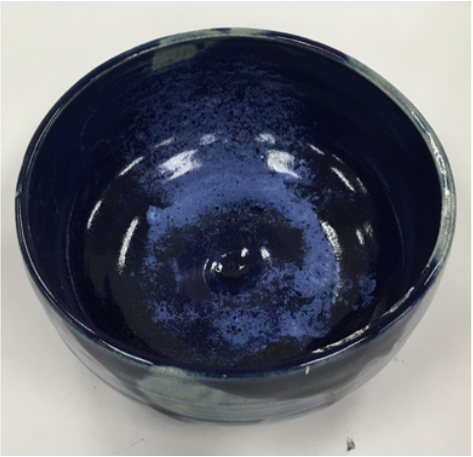
 this bowl is about 4 inches tall and wide. I used the same sort of techniques as the first bowl as I wanted them to match. you can see how there was an effort to make a contrast in colors on the inside, which would essentially cause movement in my project.
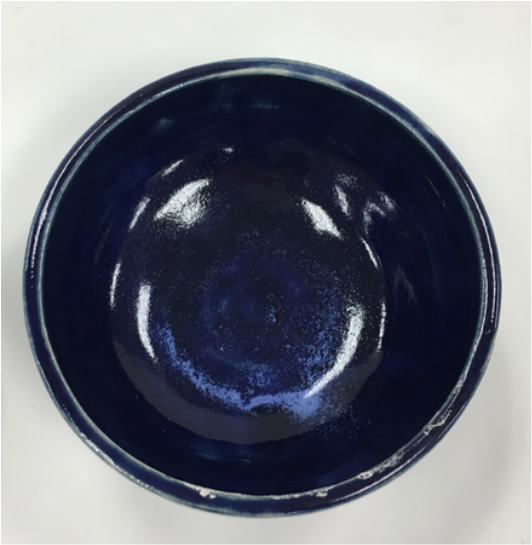
 this bowl is about 4 inches high and 5 inches wide. I used blue glaze for the entire project, but different shades of blue are in the inside of the project. That is why I think the periwinkle color showed up. I tried to make the inside of the bowl have different layers to contrast the colors in my project. This would make my project to have more movement. However, I need to practice this technique more. 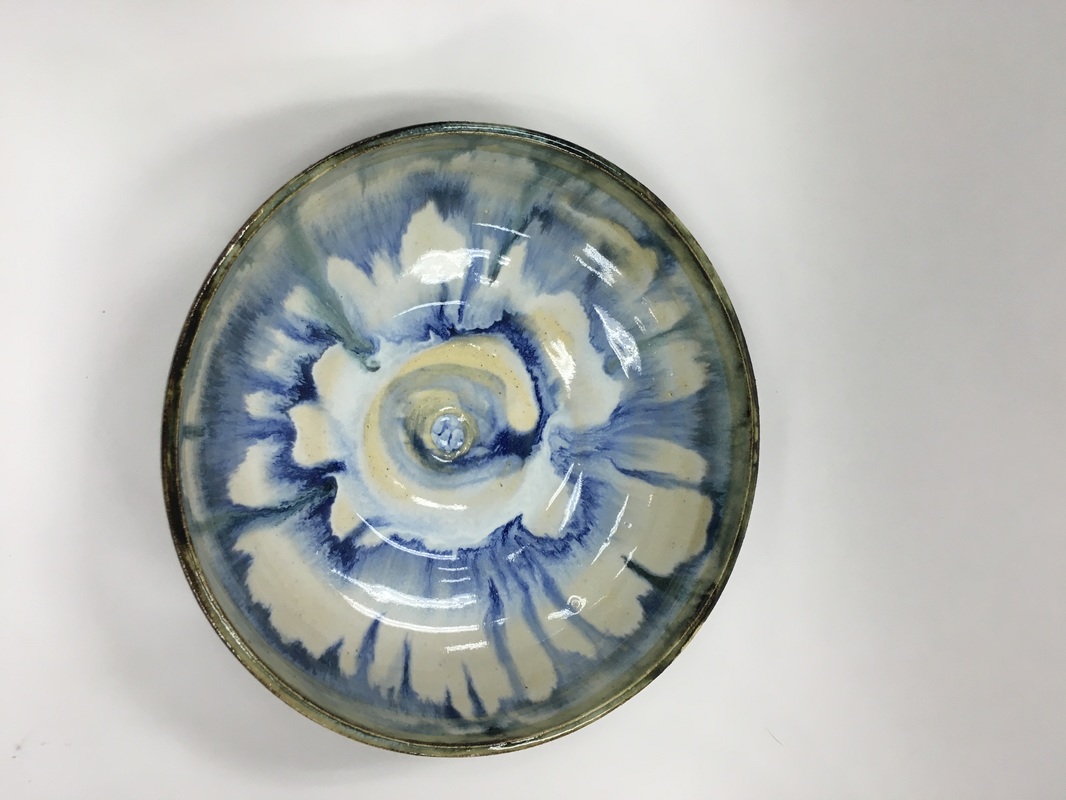 This bowl is much larger than the other two I have posted. It is about 8 inches wide and 4 inches tall. I wanted to create movement with the glaze and make a circular shape on the inside of the bowl. Although there is definitely movement, it created a flower look on the inside rather than a circles. However, while doing this project I reinforced my ability to glaze, and learned about how to mix and match glazes. 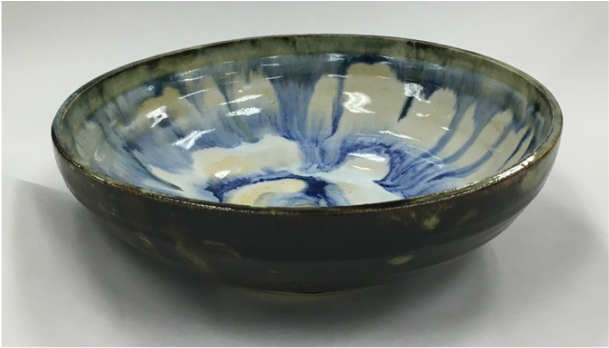 |
Archives
June 2016
Categories |
 RSS Feed
